Monday, March 7, 2011

Owl Nursery pt. 4 - The Quilt

The Quilt:

The fabrics my sister chose had both white and off-white accents.
So I couldn't just choose one solid color for the center panel.

So I made used 6 inch blocks of a combination of white and off-whites
And some of the blocks had two fabrics on them, halved diagonally
(which I made by cutting out an 8-inch square, cutting it in half, sewing it together and then cutting it down to 6 inches. Does that make sense?)


The tree and owl were appliqued on and embroidered by my sewing machine.


Dear Grace,
I love you
Thank you for being reliable
and for having electronic speed control
I could not have done this project without you.
Please continue to be nice to me.
I promise I will get you maintenanced regularly
and buy you shiny new needles.
Love,
Me


My only concern was that the owl was too pink.

So I added some red tulips and a red border


Then it came time to quilt it.

I went out and bought a free-motion quilting foot for my machine.

I watched a movie and drew on a pattern
so it could look uniform and yet random
(from a template made by my loving and artistic husband)

then did the sensible thing,
panicked,
and mailed the quilt to my mom


So I never actually finished the quilt.
I think that is currently outside of my abilities.
But it is being completed by a professional, which makes me feel much better about it.
Unfortunately that means I will not be able to provide any photos of the completed project.


Note: A lot of people have been asking me how this project compared to this one

They were very much the same.
Both were made with love for an adorable niece.
Both were very time consuming.
The quilt took a little more time than the blessing dress
but the blessing dress was more stressful.
That's because the blessing dress had to be a particular size
for a child who lives in a completely different state
and if the quilt turned out to be larger than anticipated (which it did) it doesn't really matter all that much.

Sunday, March 6, 2011

Owl Nursery pt. 3 - The Diaper Stacker


I also made a diaper stacker for the owl nursery
and added a pocket to hold the diaper rash cream.


This project only took me two days -
one to cut out the fabric
and one to design and applique on the little owls


Owl Nursery pt. 2 - Bassinett Bumper


I wasn't expecting the quilt assembly to take so long
so I had to take a break and move on to a more pressing project:
the bumper for my sister's bassinett.

She and I both have the same bassinett -
beautiful hand-woven wicker bassinetts from Guatemala.


And they require custom-made bumpers.

This project only took me one day.

I cut two 8-inch wide strips of fabric, measured to the circumference of my bassinett.
Then I drew criss-crossing lines at 45 degree angles on one of them with a water-soluble quilting pencil.

Then, fitting my sewing machine with my trusty-dusty twin needle
and keeping the ribbons on the spool
sewed the ribbons onto the lines, trimming them off the spool as I trimmed off the threads.

Then I serged on the batting and sewed the two sides together.
Voila!


I also made a little owl charm that hangs on the bassinett.

My husband hates it.
He thinks it is creepy
and looks like it is on drugs


but I made it with my niece's baby brain in mind -
contrasting darks and lights
and some red because that is the first color she will be able to see.

My husband says it is the eyes.
But using the same size of buttons on the eyes just looked weird to me.

So, I am sorry, little niece, if it creeps you out too.

Friday, March 4, 2011

Owl Nursery, pt.1


My big sister just had a beautiful baby girl.

She wanted and owl nursery,
and she wanted me to make it.

First she sent me pictures of an amalgamation of owl things she found inspiring.


Then we picked out the fabrics.

Then I started 'sketching' the design on the computer.
This is the initial design of her quilt.
Owls on a branch bordered by patchwork.

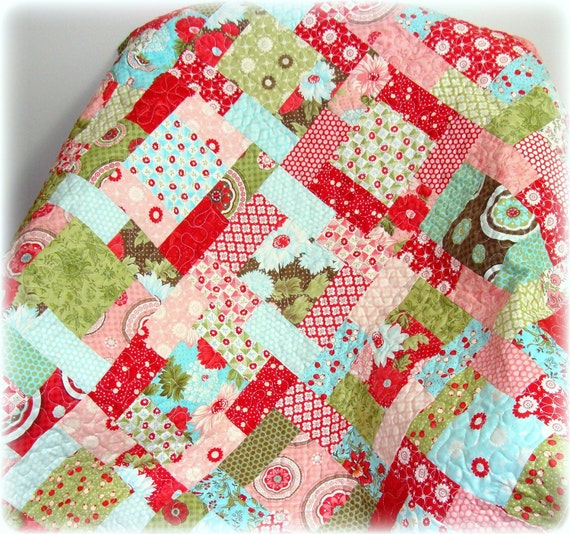
But, instead of solid blocks she wanted log cabin squares, like this:
which is, I must say, a beautiful quilt that, I believe, is available for purchase here


But that would mean that instead of a quilt that was originally bordered by 126 four-inch squares
I would be making a quilt that contains 126 two-inch squares each flanked by 6 one-inch strips.

Had I ever made a patchwork quilt before I would have known that at this request I was supposed to say, "Heck no!"

Not because it was necessarily above my sewing skills
(although it was rather disheartening how even the slightest crooked seam could mess up the whole quilt)
but because of the ironing.

Oh, the ironing

You have no idea the lengths I go to in my daily life to avoid ironing.

But I didn't know I was supposed to say that.
So as soon as I received the fabric, quilt assembly began.

I began cutting and sewing.
Thank goodness the ironing could be done while watching a movie.

And one month later, I got this:

126 blocks
That is 756 seams

and I had to iron after sewing each one.

But I think it was worth it.

Wednesday, February 23, 2011

My new nursery

I am having a baby boy some time within the next three weeks.

Disclaimer: This photo was taken a few weeks ago. I have since doubled in size.

And I have been so busy working on another project that I was relieved that I had started the nursery for my second child long before I had even become pregnant.
We have a small house, so I wanted the new baby's bedding to complement my first's
Boy, Girl, it didn't matter - this baby would also have birds.
But I wanted the baby to have its own stuff, too.

This is the crib bumper.
All I have to do is pin ribbons on it to tie it to the crib and then sew the back of the bumper to the front.
And, yes, it took me FOREVER a long time ago to hand embroider everything.
But, now when I am so tired I am so glad it is pretty much done!

So, there you go.
Proof that I didn't neglect my new baby, craft wise.
Even though I have kinda been feeling like I have.

I haven't designed the quilt yet.
But I didn't finish my first child's quilt until his second birthday.
So I have time.

My Christmas


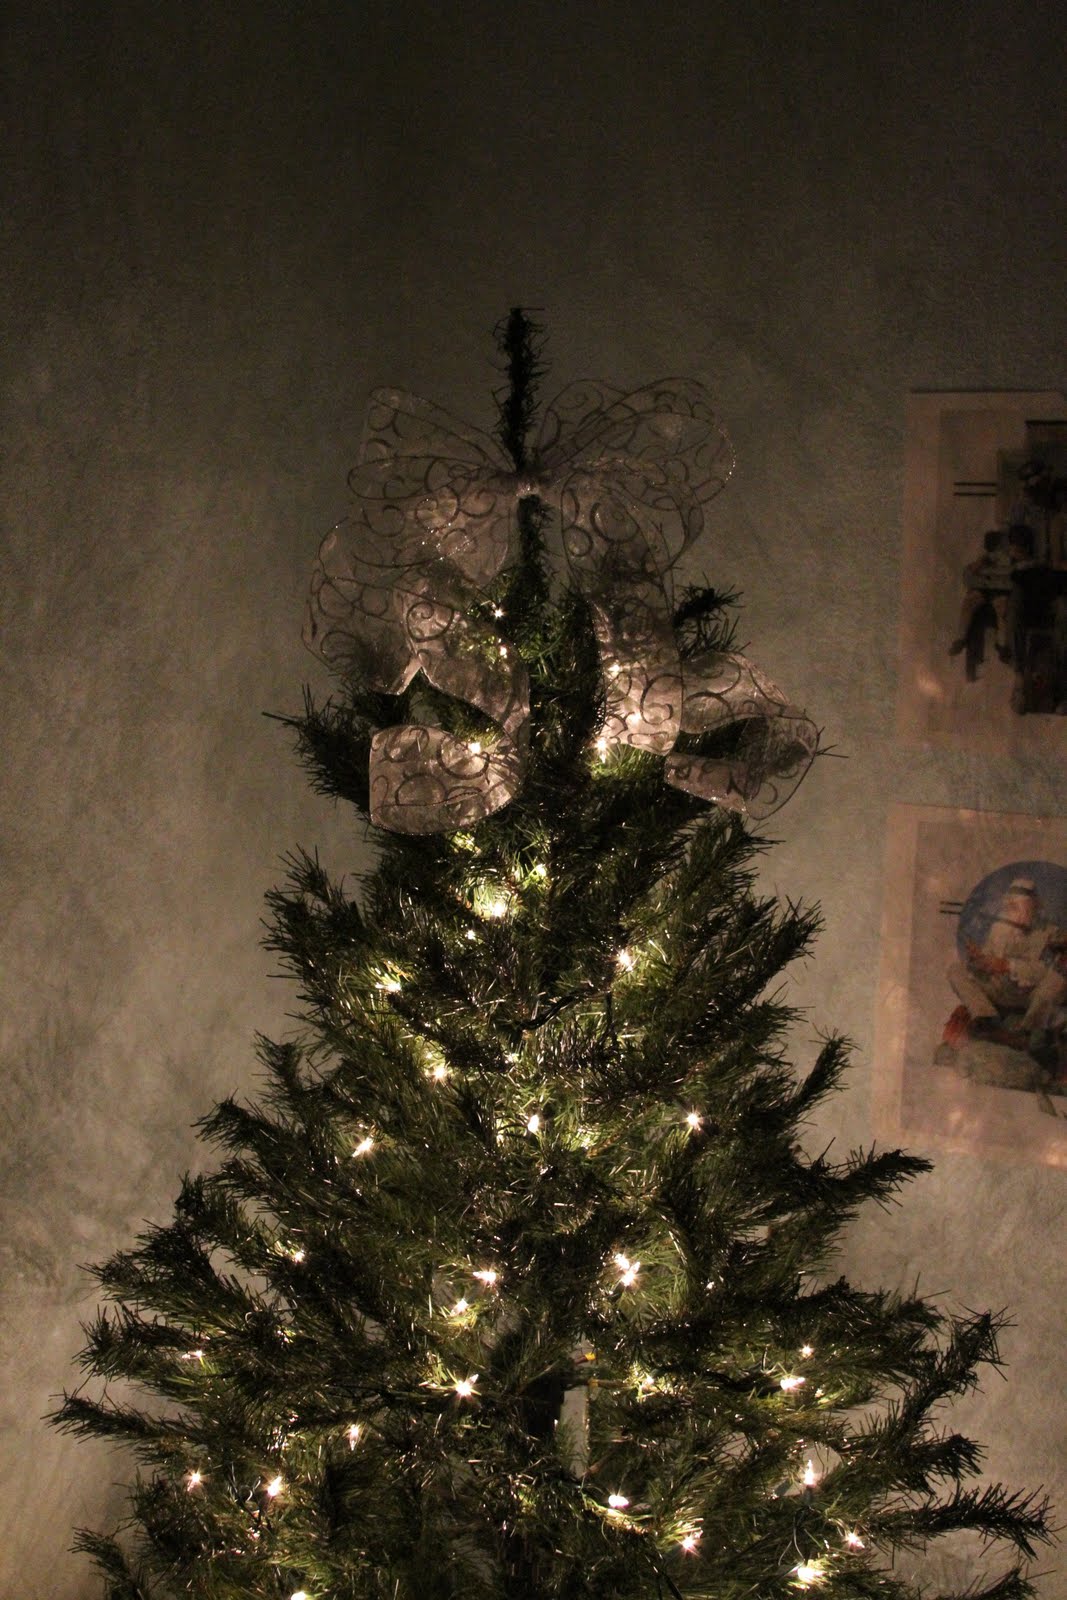
This post serves two purposes - to show you my Christmas decorations
and to tell you about the new camera my darling husband gave me!


For the past five years I have been using a point and shoot.
And it took about three minutes to take one photo.


Pretty much every photo of my child was blurry.
And even a few photos of still items were blurry too.

So my darling husband started saving his pennies.


I am slowly reading the manual and learning how to work it.
I read one chapter every week and then try to implement what I learned all week long
so I can master that new skill.
I just finished the chapter on White Balance.
I understood it fine, but the manual still has me using Auto, so I found it a bit confusing.
I hope to be out of Auto before Blue Bonnet season.
But I have a few insecurities about my photography skills ... which is probably why I am still using Auto.

But, in the meantime, even in auto, my pictures are still much clearer than with the old camera.
And I am very happy :)

Friday, February 18, 2011

The Cake of the Month - January

January's cake was a triple layer chocolate cake with a chocolate mousse filling and caramel meringue buttercream frosting. Some of the caramel frosting was in between the layers, too.

But, unfortunately I have no pictures.

It was really good, but I think I could definitely make some improvements on it.
So it is going to go back in the lineup and you will see it again some other month.

Things I plan on changing:

1. The chocolate cake recipe. Next time, it will have cinnamon in it.

2. The caramel buttercream. I used Martha Stewart's recipe for the caramel swiss meringue buttercream. But I think I was too conservative while making the caramel and the flavor was too light. I might also buy some caramel ice cream topping to drizzle on it too.

3. The chocolate mousse filling. Actually, I don't plan on changing anything with this chocolate mousse filling. This stuff was frikkin' aMAZing. It was actually a pseudo-mousse (meaning it had no eggs in it), was super easy, was my own creation, and was so incredibly delicious that I devoured half of it before it even made it onto the cake. I just kept refilling my taste-tester bowl and exclaiming how good this stuff was.

So, you will definitely be seeing this cake sometime in the near future.

And when that happens I will tell you the recipe for my pseudo-mousse.

... or I might not. I might just put it on every single cake I ever make for the rest of my life and make you all wish you had the recipe for my super simple chocolate pseudo-mousse filling.

We'll see.


P.S. I will not be making a cake in February or March ... so the Cake of the Month won't really start until April.